Pages

Showing posts with label 3D Project. Show all posts

Monday, September 15, 2014

SU Video - Star Boxes

Good Morning!  It is Monday and normally that would be a bad thing but the snow is melted and the weather is beautiful!   Unfortunatly our city has a lot of clean up to do from all of the snow last week, so many trees were damaged is just hurts the heart to look at it!   My area was not hit too bad, our trees are small, but some areas are just awful!!


On to brighter news though...  STARS
Stampin' Up put out a video on how to make some super cute Star boxes using the Star Framelits in the Annual Catalogue.   The "Under the Tree" speciality designer series paper is perfect for these little boxes too.   Below the video you can see the ones I made using this tutorial.


I just love these boxes for decorations and with just a couple of minor changes you can turn them into treat boxes too.


Here you can see where I cut a tab down and did not add adhesive so it just tucks in.  You can add a little treat to the box, such as jelly beans and the box is not ruined when opened.  So Fun!

Let me know how your Star Boxes turned out!  


Monday, August 25, 2014

Thanksgiving Bird House - Centrepiece

I know what you are thinking .. Thanksgiving is a long way away.  It really is not.  It is only about 7 weeks away here in Canada!  Can you believe it!?

I spent a good part of Friday last week working on this adorable bird house for our Thanksgiving Centrepiece.  Some of the stamping is from ALL NEW stamp sets in this years Holiday Catalogue.  

I got the bird house at Michaels Craft Store, it was unpainted so I started with painting it in the brown/orange fall colours that you see here.  Once dry I added the flower garden and roof decorations.  This is where I spent most of my time but I love how it turned out so it was worth it.  

The wreath and pumpkins were stamped with the Wondrous Wreath and Fall Fest Stamp sets. I added some punched out birds, embellishments such as the leaves (got to love that bird punch) and button, to finish the look.

I hope you like it.


 The flowers were made using a small scallop punch, the retired boho blossom punch and the wonderful all new fringe scissors. I added leaves using the bird builder punch.


For the sunflowers I used the retired Boho blossom punch again and a 1/2" circle punch. I sponged in some colour and used my piercing tool on the center to look like seeds.   "Give Thanks" is from the stamp set "Good Greetings" a hostess set and is framed in gold card stock.


The wreath is from the new "Wondrous Wreath" set but I did cut down the wreath to fit on this bird house. The original is almost double the size.  A little linen thread finished the look.

This was so fun to create.  I cannot wait to share it with my family at Thanksgiving. 

Have a wonderful day.


Wednesday, May 7, 2014

Box Card/Gift Card Holder - Tutorial


Yesterday I posted my new favourite Gift Card Holder!   I am loving the versatility and fun of the box card and now you can add a gift card and make it the perfect gift for anyone you know!   Check Pinterest, I promise you will find a box card theme to meet your needs.

Here it is, the quick how to so you can get creating some fun cards.

 Start with a piece of Card Stock measuring 4 1/4" x 11.
Score the 4 1/4"  end at 2 1/4".
Score the 11" end at 3 1/2", 5", 8 1/2" and 10".   Cut the score lines on one side down to the center line (I cut it on the 2" side so the flaps were a little shorter than the base of the card). Trim off the short tab (as seen in the picture)
Cut 2 small scrap pieces to 4 1/2" x  1" and score at 1/2" on both ends.  Fold into a Z shape and add adhesive.  

These are the pieces you will put inside the box to attach your embellishments.

 It is easier to attach your DSP pieces to the flaps after your box is assembled. This way you know what side of the flap to use and which way is up.   DSP Sizes needed are 2 each:
1 7/8"x  3 3/8"  and  1 7/8" x 1 3/8" You are now ready to add your Z shaped inserts.
 Here is a quick shot of what the interior looks like.  I attach the embellishments with window sheets usually in order to give the illusion of floating.  


Now on to the Gift Card holder.   Cut a piece of Card Stock (in the same colour as the base) to 4 1/2" (plus 1/16") x 1 3/8".   Score on both ends at 1/2".  Add adhesive as shown.
Cover the front with DSP, measuring
3 3/8" x 1 1/4"


Attach to the backside of the box card.

If you want to add a layer for writing on it would measure
3 3/4" x 3 3/8".


Here is another finished card.  I love the new word bubbles stamp set and framelits.     Too Fun.  As I said, I used window sheets to make the bubbles appear to float.  

Let me know what you think and if you create a card I would love to see it.


Tuesday, March 18, 2014

Box Cards ... They are all the rage!

Have you seen the Box Card!?  If not I would be shocked.  These great, fun and cute cards are all over Pinterest and Crafting blogs right now.   The ideas for these are endless and they fold up and fit in a envelope!  Love it!


  I saw a similar card to this on Pinterest and when one of my friends and clients had her baby last month I could not resist Casing it!   Zoo Babies is one of my favourite stamp sets and a perfect fit for this card!
I used the I am Me DSP for it's fun, bright colours.
To finish off the card you add a panel on the back for your sentiments and such.   Below is a link to a tutorial and video I found from Angie at Chic n' Scratch!   These are so fun, I even made another for an upcoming club!


cardinabox_b  Check it out and then have fun creating!

Here is a peek at the Mothers Day Card I made for an upcoming club.  


Saturday, March 8, 2014

Easter Treat box - Tutorial

It is finally looking like spring in Calgary, warm weather and melting snow!  I was outside in a T-shirt today and it was AMAZING!!   So with spring comes Easter.  Last year I had some cute little Easter treats that I gave the girls.  They were a combination of treat box and easel card.  Recently I have had a couple of inquires about how I made this fun little treat!   So here we are.  A quick little "How To."


 Above is a picture of the treats I made last year.   I used the Matchbox Die (now retired) and added a cute little easel card on top.

If you did not get the Matchbox Die, don't worry, I have some dimensions below to create your own.

 First lets re-create the punch art bunny.  I found this bunny on Dawn Olchefske's blog, DOstamping with Dawn.  I had to cut him down to fit the card.  I missed the heart in this picture but I got it from the Owl Builder Punch and the whiskers are cut from a scrap piece of card stock.
Once your bunny is put together you can fold down the ear to make him even cuter!   I drew a little line below his nose.


 Dimensions for the the easel card:

5 x 2
scored at 2 1/2  and 3 1/2


If you have a Matchbox Die, use it!  It is so easy and quick.   If not here are the dimensions:

Base: 4 3/4 x 5 1/4
Score on all sides at 5/8 and 1 3/8  then cut away the sections shown and create your tabs.

Top (wraps around base):
2 1/2 x 6 1/2
Scored at 3/4, 2 7/8, 3 5/8,
5 3/4

Adhere the box together to create a base section and wrap-around.  See Below.  


I filled the box with chocolate Easter eggs.   Any punch art would work on the cover or even a great little stamp.     If you do not have the punches for this bunny than check Pinterest for other options as there are many different punch art bunnies.

I hope this helps, if you have any questions or comments please let me know. Have a great day.


Friday, January 3, 2014

All New Occasions Catalogue ....


Arriving today is the all new Occasions Catalogue, it is full of fun products and ideas for Birthdays, Easter, Valentines and much much more!


Yesterday my Facebook followers got to see my first project with a great new Stamp Set from this Catalogue, not to mention the Sale-a-Bration Sneak Peek.  Today I want to show you an amazing kit in the new Catalogue that I finished this afternoon.


On Page 21 in the corner is this great kit called "Burlap and Blooms Simply Created wreath Kit" as soon as I saw it I wanted to create it.  


You get everything you see here to create this wreath.  All you need is a glue gun!
I switched up the brads for some others (retired rhinestone brads) but otherwise kept to the script.  It took me maybe 2 hours.
I love the result.  It is so fun, and makes me think of spring.  We got 5cm of Snow today so a little spring is more than welcome.
Let me know what you think!
For those of you who do not follow me on Facebook (why not!!!).   Below is the card I posted the other day.  
The card was created with a new Stamp Set called "Big Wish" and a few "sneak peek" items from the upcoming Sale-a-Bration!  Ink used was Crisp Cantaloupe,  Summer Starfruit, Pool Party and Pistachio Pudding.
I also used Pistachio Pudding and Whisper White Card Stock.  The background was created using the "Gorgeous Grunge" Stamp Set.

I would love to hear what you think.   What is your favourite new item from the Occasions Catalogue?

Janet Y

Tuesday, December 3, 2013

Christmas Village of Cuteness -- December News


Before I get to how I made my Christmas Village of Cuteness I just want to mention that at the bottom of this post are the New Weekly Specials, the December (and final) "Best of" Stamp Set and a quick little message you will not want to miss!!

Now on to my Christmas Village of Cuteness ....

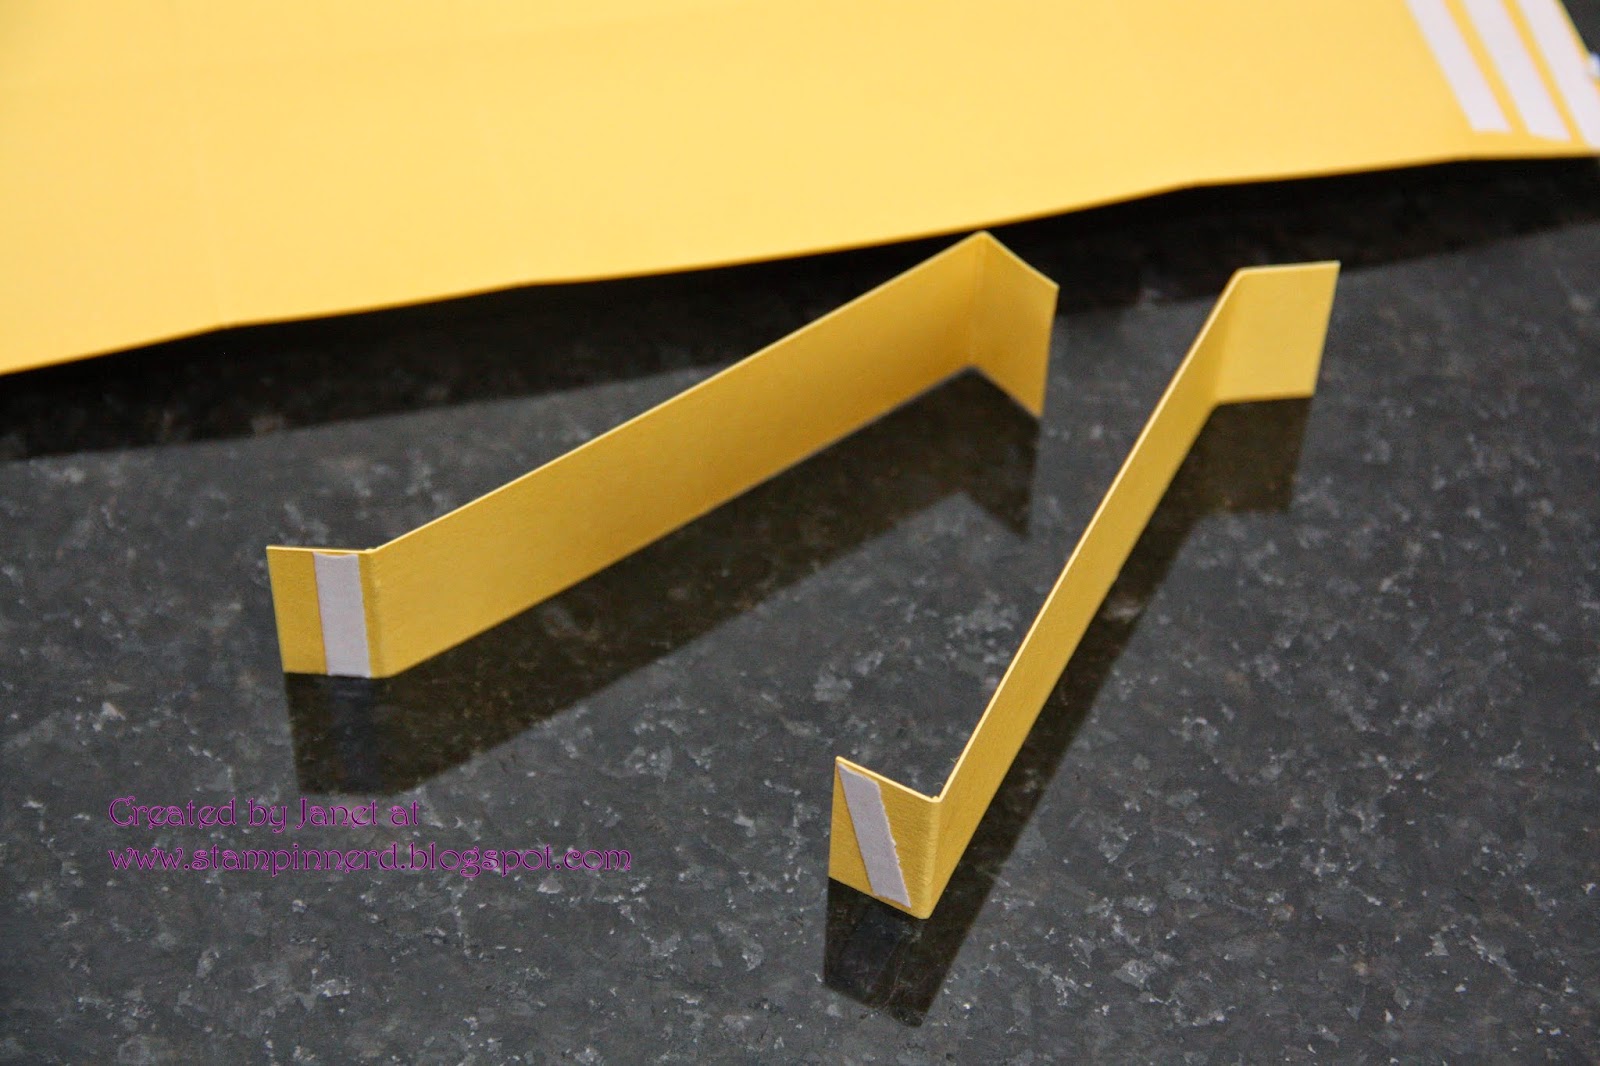
 In 2011 I went to the Stampin' UP Convention with my friend and Up line Amber.   For a Make and Take at the convention they had us make a "Village of Cuteness."   Essentially it was 3 pieces of 2x4 cut to look like little houses.  We painted them and decorated them.   That fall I made a Halloween Set and had great intentions of making a Christmas Set.  With the help of Ambers Husband (who cut more houses) I finally made a Christmas Set!

I am so happy with how they turned out!
 Red House - on this house I used a little wooden business card and painted it green, behind it I added some Espresso Card Stock.  The Roof is Early Espresso Core'dinations Paper that has been embossed with the Wood-grain Embossing Folder. The Icicles are made with Crystal Effects and Dazzling Details.  I finished it off with a Frosted Finishes embellishment, antique brad and retired felt holly.

Green House - Here I cut the wooden business card in half and created a double door with some retired brads as door knobs.  The Roof is chipboard covered in retired DSP.  I used some more retired felt (this time the mittens). For the sign on the house
 I used a Framelit from the Chalk Talk set and cut out a piece in Sliver and Red Glimmer paper and one from the wooden business cards.   I got the sentiment from the "Christmas Messages" stamp set.

Brown House - For this house I punched out each scalloped layer of DSP for the roof.  It took a long time but I love the effect.  I added the last two pieces of felt from the retired set and added rhinestones for sparkle. Again the door is a wooden business card (I got them at Lee Valley) and added another antique brad for the door handle and two other brads for the hinges.
  Above you can see the detail of the roof a little better.

 For all of the houses I used acrylic paint and applied it lightly so you could still see the detail of the wood grain.  I also added Mica Flakes (retired) to the bottom of each home.

These were so fun to make.  Let me know what you think of the final product.

                  ~~~~~~~~~~~~~~~~~~~~~~~~~~~~~~~~~~~~~~~~~~~

December News

New Arrival --  Best of "Sale-a-Bration"
The final Stamp set in the Best of Series is here!  These will be available until April 2014 so get them while you can.   134939  $17.95


It's Never too early for these super cute Valentines ... Available Now
A Whole Lot Of Love
This Weeks  "Weekly Deals" are out now ... Check them out Here
Weekly Deals

Only a 22 Days until Christmas and only 7 days left to order your Christmas goodies.   Shipping to Canada this time of year can be a little crazy so be sure to order any items you want before Christmas by December 10.

Remember the Holiday Catalogue Retires on December 31.  Don't miss out on some amazing products.

On December 10 be sure to check out the CLEARANCE RACK.  I little birdie told me we will be getting some new items on this list, some of which may be up to 80% off!!!

 
Janet Y

Wednesday, October 30, 2013

Make it Pretty .. Tag it Bundles are Now Available

If you love to make the outside of gifts look as special as what's inside then these two packages are for you.  

TAG IT BUNDLES
Our two Tag It bundles include the tags, the ribbon, and the boxes to make your own pretty packages.
Item
Description
Price
Includes
135811
Holiday Tag It Decorative Box Bundle
$24.95
  • Stamp a Tag Kit
  • Cherry Cobbler 1" Stitched Edge Grosgrain Ribbon (10 yards)
  • Decorative Window Gift Boxes (6 boxes)
135812
Holiday Tag It Extra-Large Box Bundle
$23.95
  • Stamp a Tag Kit
  • Cherry Cobbler 1" Stitched Edge Grosgrain Ribbon (10 yards)
  • Extra-Large Gift Boxes (3 boxes)
The two Holiday Tag It Bundles are only available October 29-November 19, 2013.


Order while you can.  

Janet Y

Sunday, October 6, 2013

Tag 4 You Gift Set

We are one week away to Thanksgiving here in Canada and I will be visiting family and having fun!  I am really looking forward to it.  One great thing about going to my family's home for Thanksgiving is that I do not have to cook.  
If there was one thing I wish I was better at it would be cooking (exercise would be a close second LOL) so you can imagine how intimidating a Family dinner like Thanksgiving would be for me.  Call the caterer!  But this year I am going to my Mother-in-laws so I am get to stick to what I am good at.  Thank you gifts!

I have made this fun little gift set with the Tags 4 You Stamp Set and punch.  

 I made the box with Crumb Cake Card Stock and Window Sheet.  I then used the Burlap Ribbon to wrap it in and added one of my favourite Stamped Images from the Truly Grateful Stamp Set.  So simple and fun.


 Inside the gift set I placed 4 note cards with a simple stamped background image, 2 in gold and 2 in silver.  I also added 4 crumb cake envelopes with envelope liners stamped in the same colours and background image. 

The background image I used was one from the Gorgeous Grunge Stamp Set and the Ink and Liner Framelits are from the Holiday Catalogue.

 
This little card of labels is the fun part of the gift set.  I saw this great idea at Convention.  I attached a dimentional to each of the punched labels.  I then glued the dimentional down to the sheet without removing the paper backing.  This way the label can be removed from the card with the dimentional still intact and added to the blank note cards.


Here is another simple Idea using the same card of Gift Tags.   I created these two cards using Washi Tape and inside each card there will be some labels that can be added to any gift or card.  These are so fun for teachers or neighbours.
 
With all the Great Stamp/Punch Sets the possibilities are endless.
 
And don't forget to check out the LNS Treasure Hunt for your chance to win FREE Stampin' Up Products!   Click Here.
 
 
Janet Y


Related Posts Plugin for WordPress, Blogger...