Pages

Showing posts with label 3x3. Show all posts

Wednesday, May 22, 2013

Emoti-cards

I surfing the web today looking for some inspiration.   Nothing was working for me and maybe it is in part because it is a rainy, grey day out but I did not find anything to get my creative juices flowing.  This is rare for me because the internet usually has me rushing to my craft room for some me time.  

While I was on Facebook I made a little comment to some one and added my standard :).  This had me thinking, what if...


 I used circle punches for almost all of the emotes. I used the 1 3/4", 1' and the small circle from the Punch Pack.  I free had cut the straight lines. 

The challenge was finding Sentiments that I thought were fitting for the emotes.  I used Teeny Tiny Wishes and Petite Pairs. 


I had so much fun creating these and the possibilities are so vast!  Just Google Emoticons and wow there are loads!!


I hope you enjoy these little notes as much as I do.  Let me know what you think!


REMEMBER - There is less than two weeks left of the current Catalogue so get the Retiring Items while you can! Also the Spring Mini retires on May 31!
Janet Y


Thursday, August 30, 2012

Back to School Surprise

I bought some of those little hand sanitizers for my daughter to take in her backpack so when I was thinking about a special treat for her on her first day I thought I would create a little 3x3 card and box for the hand sanitizer.   This is what I came up with ...


 The dimensions for the little box are as follows ...

Card Stock 4 3/4 x 7 5/8

On long side score at 3 1/4 and 4 3/8 (sorry there is a pencil mark in the diagram below that has no meaning so please ignore it!)

On the short side score at  1/2, 1 5/8,  3/18,  and 4 1/4.

Cut out the excess flaps and pieces as shown below (top side is cut out already and the bottom side is shaded.)

You can put a window in using framelits (unfortunately I do not have many of the SU framelits yet so I used a Non SU one).  I think the Apothecary Accents Framelits have one or two that would work or the bitty banners, as well as the Lots of Tags Sizzlits.  I added a window sheet on the inside too.


 The lid is 2 x 1 5/8 scored on all sides at 1/4.  I cut two tabs to glue to the flaps to make the front and cut off the other two tabs and glued the back piece into the original box.

I hope that is clear! Please email me if you have any questions.

This card is a 3x3 and I used the wonderful Perfectly Preserved Stamp Set and the Cannery Set Framelits!  So much easier than cutting!!

The colours used are Gumball Green, Real Red, Cherry Cobbler, Basic Black and Whisper White
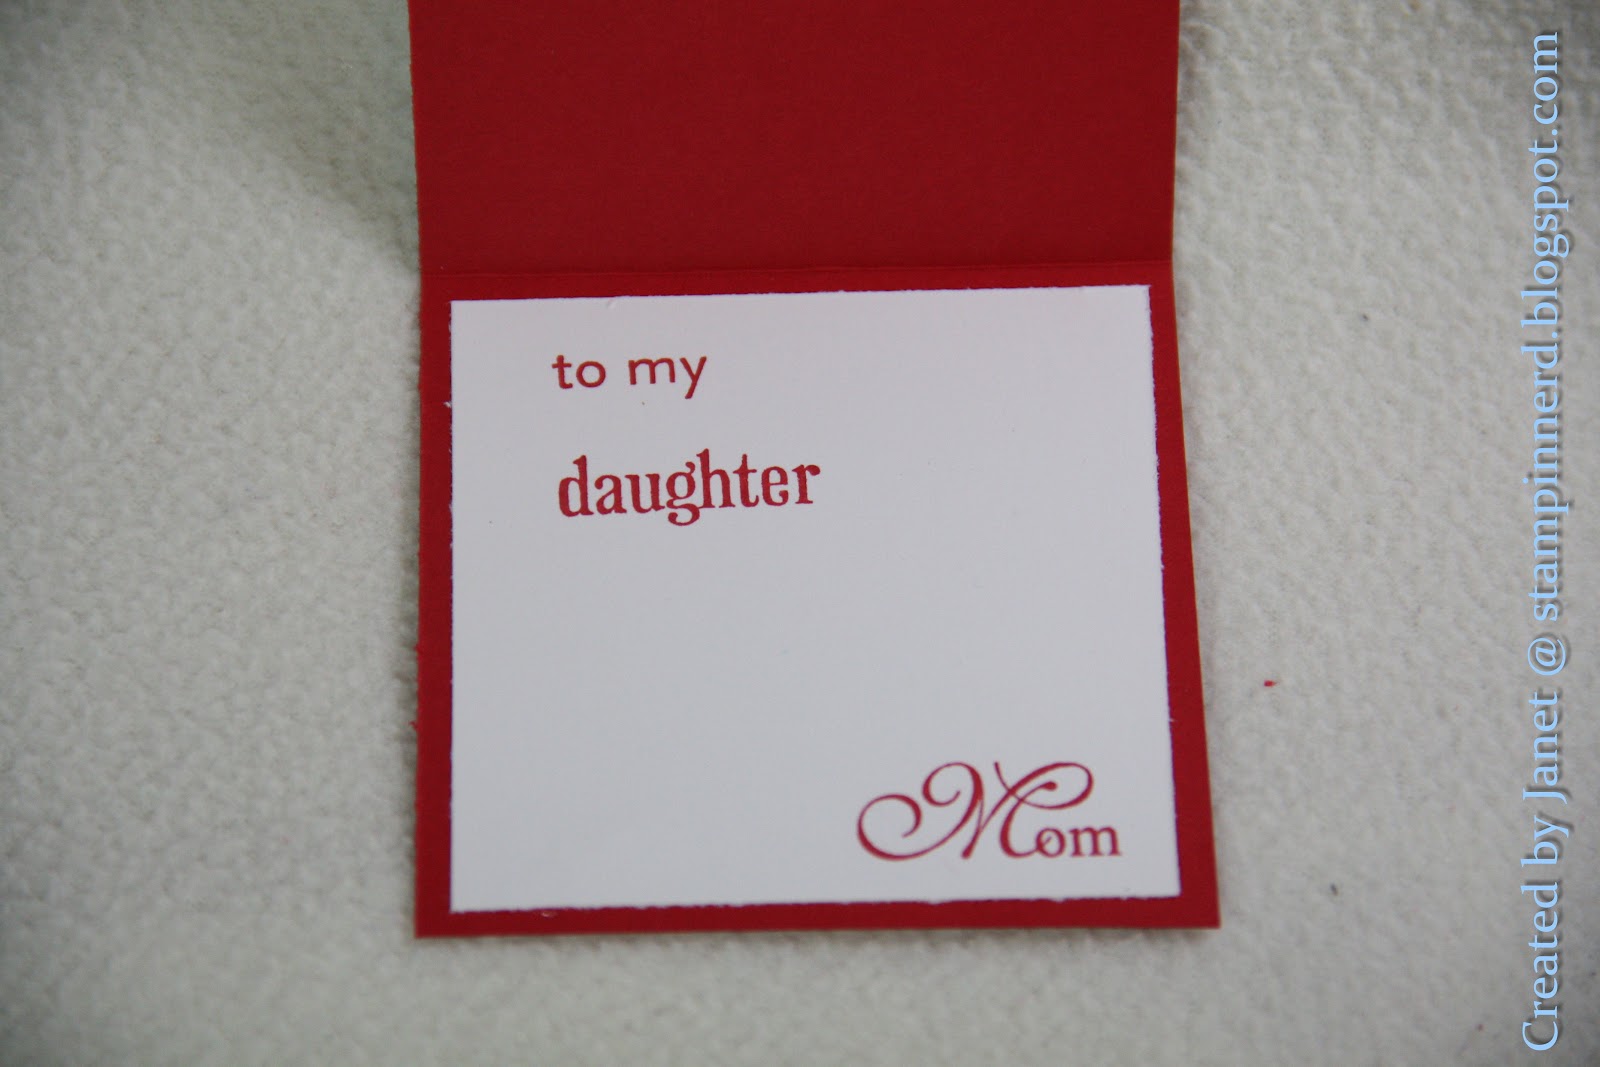
Inside the card I used the Family Reunion Stamp Set.


So here in Calgary Back to School is Tuesday morning and I have to say part of me is excited about getting the kids back to school but I am not looking forward to all of the running around this year!!  Hope you are enjoying the Back to School Season!


Thanks for looking!
Janet Y

Friday, August 17, 2012

3x3 Cards and Gift Box -- Mixed Medley

I have a fun little project for today.  3x3 cards are such a quick and easy way to make gift sets and I love making gift sets!  For this one I designed a little box to hold them (I am sure someone else has one similar to it somewhere but I like the challenge of trying to create it from scratch).  Let me know what you think.


 I gave myself a little challenge to create cards using the Mixed Medley Hostess Set from the new Holiday Mini, using the same layout for each card but different colours for each.   So here they are.  Each card is spritzed on the Whisper White Base, and then I added two strips of paper in the colours that were chosen for each card.  Using the Mixed Medley Set and the New 1 1/4" Scallop Circle Punch I created the main embellishment. 
 I used Rose Red and Perfect Plum, Soft Suede and Raspberry Ripple, Island Indigo and Calypso Coral, Basic Black and Tangerine Tango, and finally Primrose Petals and Baja Breeze.


Below is a "How To" for the card holder.  It will hold up to 6 3x3 cards with envelopes.

So to put it simply ...

Cut paper to 10 x 7 1/4

Score Long side at |
3 1/4,  4 3/4,   8  and 9 1/2

Score Short side at
1 1/4,  4 3/4,  and 6 1/4

Cut out pieces as seen in photo above and snip down scoring lines where shown (I hope you can see those!).  Fold and adhere.
When I have it put together I then cut the sides of the top flap into a diagonal as seen on the lid of the brown box.  Decorate and give away!

Now for a fun little quiz ... What retired colour is seen in the How To Photo above??

Thanks for looking!
Janet Y
janetyates@shaw.ca
Related Posts Plugin for WordPress, Blogger...