Pages

Saturday, March 3, 2012

MDS -- Smiley

I have worked on 3 projects in my craft room in the past two days and I hated 2 of them so I thought I would hit the computer again. I am slowly working on my youngest daughter's book because I don't have my oldest daughter's pictures downloaded yet (they are all on discs). I am loving the neutral backgrounds right now and I have a feeling most of the book is going to be themed this way.

I used a Crumb Cake Background with an overlay from the Presto Patterns Stamp Brush.  Presto Patterns is such a great way to add texture to a 2D object.   I used a retired color - Summer Sun for the title and an In Color - Wisteria Wonder for the accents.  Adding shadows is very important; I can't tell you how many MDS projects look drab because they simply did not add shadow.  I found this layout from one of Heather Summers posts and as I have said before I love her work especially with MDS. 

Thanks for stopping by and have a great day.

Tuesday, February 28, 2012

MDS - Best Friends

I have been trying to get better with scrapbooking and I find MDS is the way to go. I finished this page in one hour while watching TV so you know the program is easy to use. 
I love Stampin Ups My Digital Studio and I am hoping I will have more examples for you soon. Remember that right now you can download a free 30 day trial of MDS, just click the link above.

I have used MDS for my Banner above and for my Facebook Page photo and many times I have used it for Birthday Invites. 

I am very bad at organizing my photos and I truly think that is the key to good scrapbooking. 

These are some of my favourite pictures of my youngest (who is now 3).  

I used DSP from the Sale-a-bration digital downloads, and digital stamps including Schoolbook Serif Alphabet and Razzle Dazzle as well as embellishments such as stitching. 

I hope this is the first of many MDS projects I have to show you.  I got the layout inspiration from Heather Summers who is a goddess when it comes to MDS.   Please contact me if you are interested in ordering MDS, hosting a Stampin Up Party or if you just have questions about the product.


Janet Y
janetyates@shaw.ca

Monday, February 27, 2012

Water Bottle Hanger Tutorial

I have had a few people ask me how I made the water bottle hangers that are shown below and I thought the easiest thing for me to do was to post a tutorial (only my second one ever!).  I have seen these before and I am sure there is another tutorial out there somewhere but this was my take on it so I hope you like it.   I kept it small so I could get two from one 8.5" x 11" sheet.

Supplies:
Base - 4 1/4" x 11"
Layer 1 - 2 1/8" x 3 7/8"
Layer 2 - 2" x 3 3/4"
Punches: 1 3/8" Circle, Small Scallop Circle and the Decorative Label

Simply Scored, Cutter.

To make the scallop circle around the opening for the water bottle I punched a 1 3/8" Circle in Pool Party, and then punched the scallop circle around it.


Take the Base layer and score at 2" (this is the top), 6.5" and 7" (this is the bottom) on the long side. (Sorry about the extra marker on the Scoring tool ignore it) 
On the short side score at 1/2" and 1" and flip and do that again on the other side. 
 Cut away 1" on either side from the base leaving the bottom 4 1/2"  in tact.  I made little tabs as seen in the picture between 4.5" and 4" that will end up being the bottom of the hanger.
 Attach the scallop circle to the top then punch out the circle in the middle with the 1 3/8" punch.
To make a layered look on the decorative label punch simply punch out two in the background color and glue together leaving about 1/8" as shown. Then attach your main label on top as shown below.
Fold along score lines, add sticky strip to all tabs as shown and glue them to the top half.
Decorate using the layer pieces and label.  I put a Dairy Milk Thins Chocolate bar and a Nestea flavour packet (for the water bottle of course!)  You could also add a pen for orders or Twizzlers, the possibilities are endless.


I hope you like the final result.  I think I may try these for a BBQ or a Birthday Party.  I would love to see your take on it, leave your link below in the comments.  Thanks everyone.  Have a great day!


Saturday, February 25, 2012

C is for Cookie

Last Fall Stampin Up came out with the Sweet Pressed Cookie Stamp.   I admit I was not over the moon for this at first.  I don't really like sugar cookies and I am not a big "kitchen" person, honestly I should not be eating cookies they are a weakness of mine and I try not to have them around!  Of course I have two little girls and run a part-time day home so it is nice to give the kids homemade cookies instead of bear paws all the time!  

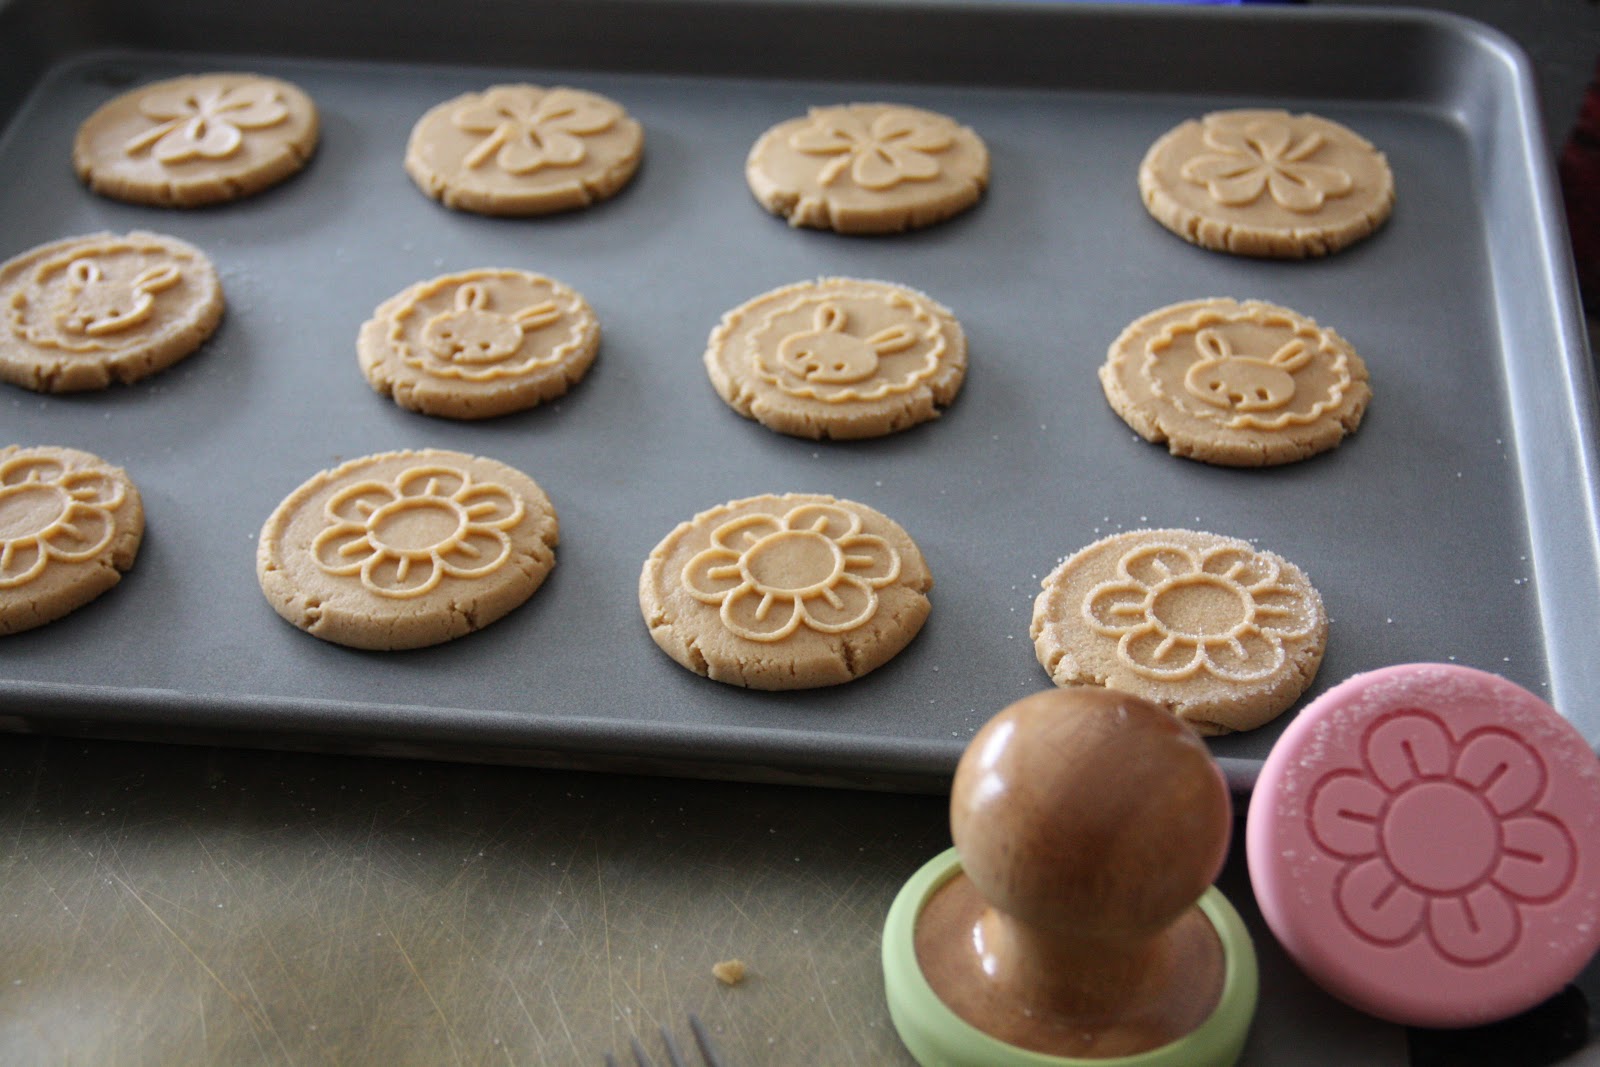
On a whim I ordered the newest set of Sweet Pressed Cookie Stamps "Occasions Sweet Pressed Cookie Stamp" and I just had to try them out! I used Peanut Butter cookies because as I said I don't really like Sugar Cookies. I was worried about how much they would spread out and distort the image on the cookie but in the end I was pretty happy with the result. If I ever feel brave enough to actually add some fancy icing or sugar I will post that too but here is how it all went down .....

I used a recipe from Allrecipes.com called      
"Classic Peanut Butter Cookies"  then instead of using a fork to press them down I used the Sweet Pressed Cookie Stamp.  I even dipped it in sugar first to add a bit of sweetness to the top.

Bake at 375F for 8 minutes and....

Cookies!!!

I am pretty happy with how they turned out and now I think I need to get the "Holiday Sweet Pressed Cookie Stamp" set. 

Last night I had a card class with for a few ladies and served the cookies to rave reviews! 

As you can see I also made them a little gift for their place setting!  Don't you just love the
Sale-a-bration DSP!
Don't forget only one month left to get free items during Sale-a-Bration!  Contact me if you would like to host a party for even more free items and some crafty good times.  Who knows maybe you will get some Sweets Surprises!

Tuesday, February 14, 2012

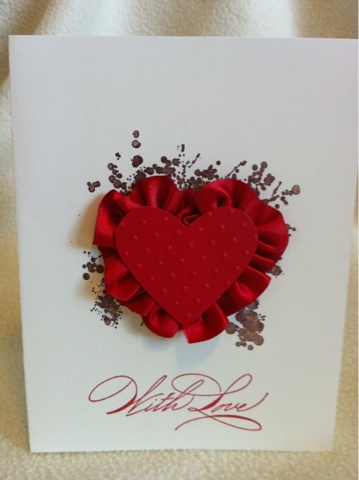
Happy Valentines Day

Just a quick note to wish you a wonderful Valentines Day. Have a great day!
Related Posts Plugin for WordPress, Blogger...