Pages

Showing posts with label Gift Card Holder. Show all posts

Wednesday, May 7, 2014

Box Card/Gift Card Holder - Tutorial


Yesterday I posted my new favourite Gift Card Holder!   I am loving the versatility and fun of the box card and now you can add a gift card and make it the perfect gift for anyone you know!   Check Pinterest, I promise you will find a box card theme to meet your needs.

Here it is, the quick how to so you can get creating some fun cards.

 Start with a piece of Card Stock measuring 4 1/4" x 11.
Score the 4 1/4"  end at 2 1/4".
Score the 11" end at 3 1/2", 5", 8 1/2" and 10".   Cut the score lines on one side down to the center line (I cut it on the 2" side so the flaps were a little shorter than the base of the card). Trim off the short tab (as seen in the picture)
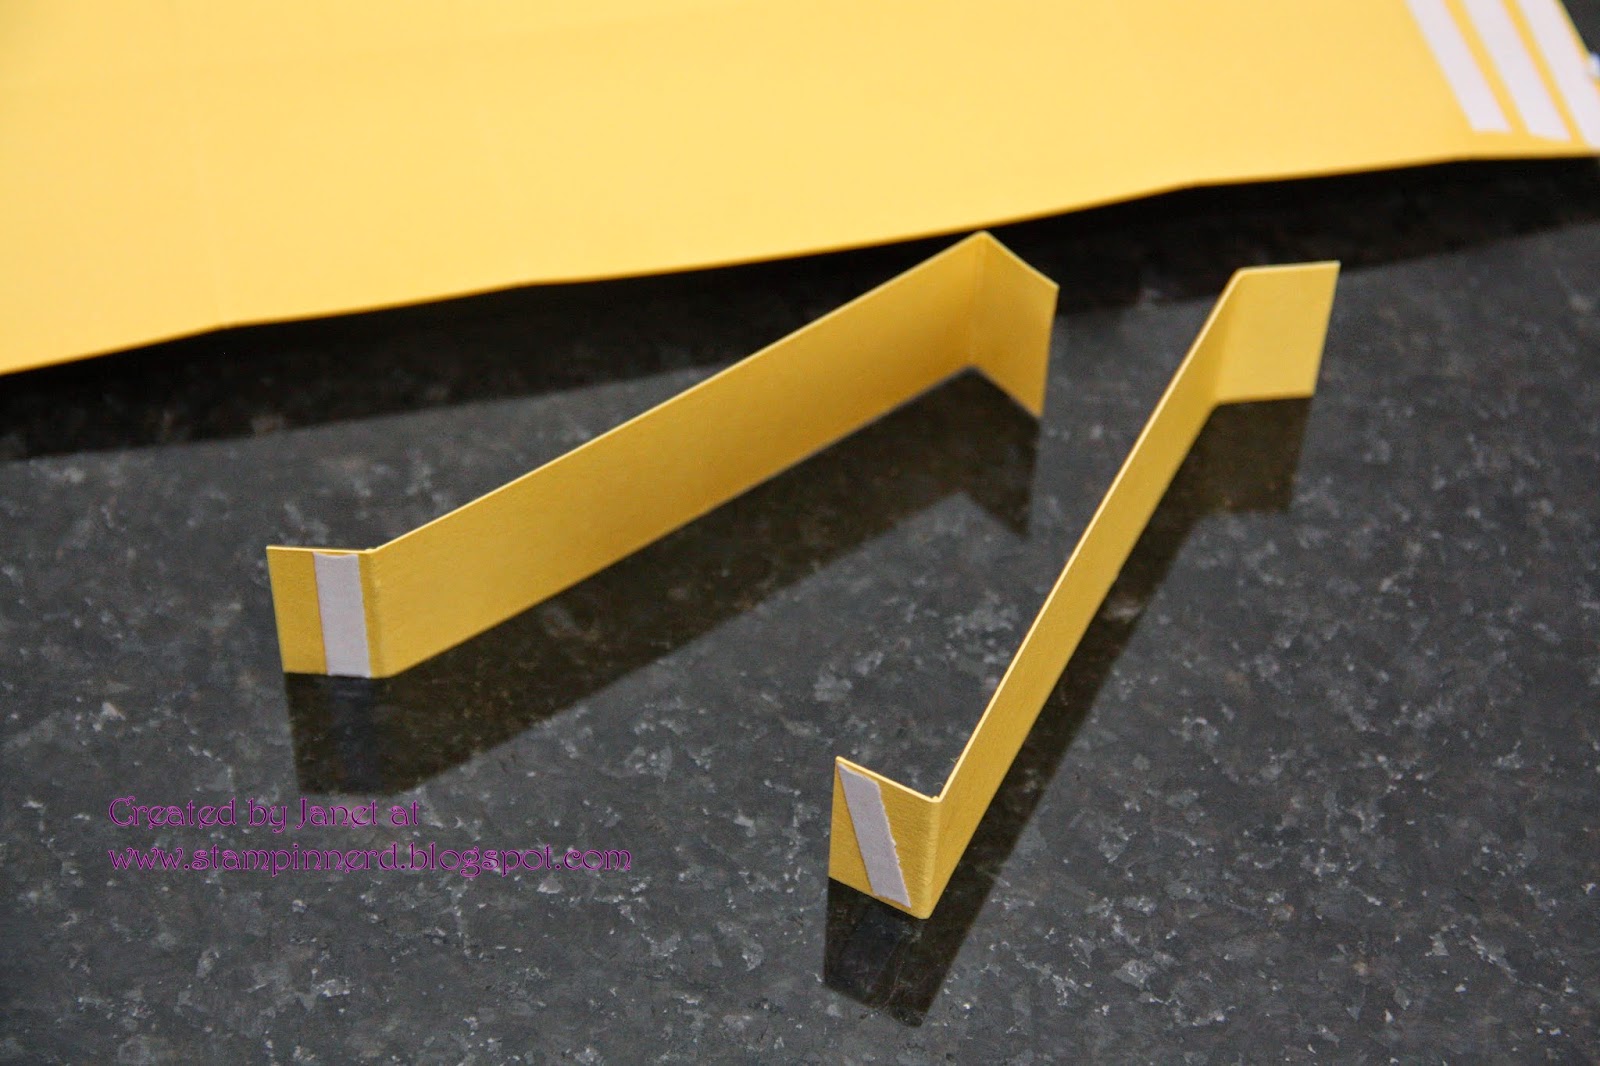
Cut 2 small scrap pieces to 4 1/2" x  1" and score at 1/2" on both ends.  Fold into a Z shape and add adhesive.  

These are the pieces you will put inside the box to attach your embellishments.

 It is easier to attach your DSP pieces to the flaps after your box is assembled. This way you know what side of the flap to use and which way is up.   DSP Sizes needed are 2 each:
1 7/8"x  3 3/8"  and  1 7/8" x 1 3/8" You are now ready to add your Z shaped inserts.
 Here is a quick shot of what the interior looks like.  I attach the embellishments with window sheets usually in order to give the illusion of floating.  


Now on to the Gift Card holder.   Cut a piece of Card Stock (in the same colour as the base) to 4 1/2" (plus 1/16") x 1 3/8".   Score on both ends at 1/2".  Add adhesive as shown.
Cover the front with DSP, measuring
3 3/8" x 1 1/4"


Attach to the backside of the box card.

If you want to add a layer for writing on it would measure
3 3/4" x 3 3/8".


Here is another finished card.  I love the new word bubbles stamp set and framelits.     Too Fun.  As I said, I used window sheets to make the bubbles appear to float.  

Let me know what you think and if you create a card I would love to see it.


Tuesday, May 6, 2014

Box Card + Gift Card Holder = AWESOME!

Mother's Day is fast approaching and I really wanted to give my mother one of those great Box Cards everyone is making.   I also wanted to give her a gift card to Chapters.   I decided to create a box card that would also hold her gift card so I have the best of both worlds. Let me know what you think!


I changed the card to be wider but shorter and I was able to make it long enough to add a pocket that would easily hold a gift card.   It still fits in an envelope too!  There are so many wonderful ideas for Box cards out there and now you can add a gift card!


Mother's Day is this Sunday!  I am very excited to give this card to my Mom.


Tuesday, February 4, 2014

Birthday Blend

I started playing with my Envelope Punch board last week.  Thanks to Becky Roberts at Inking Idaho, who creates some super cute File Folder Treat Holders. I will show you the link to her video tutorial at the bottom of this post.

I wanted to create a card for my friends birthday that would incorporate this great tool to hold the gift card I got her.   Check out what I came up with ....


Since I was giving her a coffee card I used the "Perfect Blend" stamp set.  I created a card to glue the Gift Card to.  The tab at the top is made from the Envelope Punch Board.  I then used some retired DSP to create the envelope on the Envelope Punch Board.  It was super easy using the measurement guide on the board.  I considered stamping or using an embossing folder for the base but in the end I wanted the Envelope to be the focal point and worried it would be too busy.

Click here to see the video on how to make the tab on the card.


Sunday, December 22, 2013

It's a Tim Hortons Christmas

Well only 3 more sleeps until Christmas and we are ready!!  Food, presents, baking all done!  Visiting and fun on the agenda for the next 3 days!   I am very excited for Christmas this year, mainly because I got a few things for my Husband that I think he will love and I can not wait to see his reaction!

One of the presents is a gift that keeps on giving!  Tim Horton's Forever!

I bought a gift card and fixed it so it will reload automatically.   He will never run out of his favourite coffee!


 Of course I had to package it just right so I used the "Perfect Blend" set from Stampin' Up and made this adorable gift card holder.

I used Tim Horton's colours, Real Red, Chocolate Chip and Vanilla.  I punched out the Logo from some packaging the Gift Card came in.
Inside I used the word window punch to make a slot for the gift card. I stamped the sentiment with "Yippee Skippee" , "Perfect Blend" and "Fabulous Phrases."


I cannot wait to give this gift!


Just in case I do not get another post out before Christmas, I wish all of my followers a safe, happy, fun-filled and joyous Christmas and Holiday Season.  

Janet Y


Related Posts Plugin for WordPress, Blogger...